Manufacturer of ancient architectural models
The Complete Process of Ancient Architecture Model Making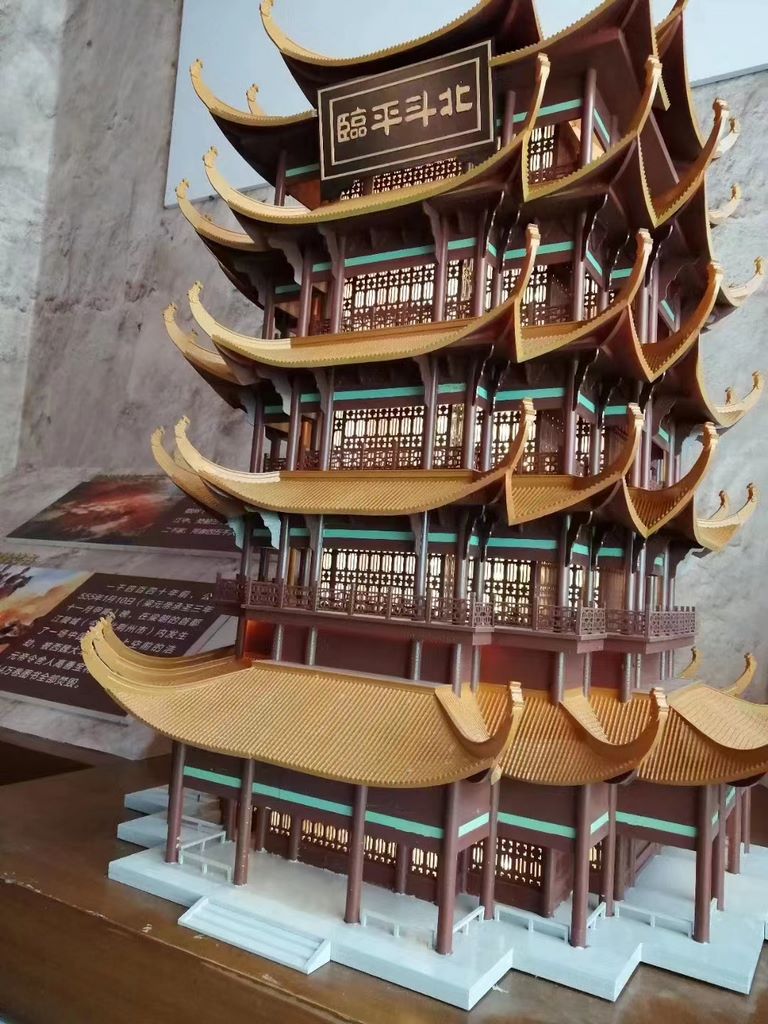
I. Data Pre-processing Stage
Drawing Optimisation:
Check the 3D model's topological structure
Repair non-manifold edges in the model
Optimise surface subdivision
Split the model into components suitable for printing
Printing Feasibility Analysis:
Identify overhanging structures
Mark thin-walled features
Plan support addition locations
Determine the optimal printing direction
II. Material Selection and Printing Process
Main Structure:
Select ivory white resin to represent stone bases
Use light wood grain resin to simulate beam and column structures
Use semi-transparent resin to create window lattice components
Decorative Details:
High-precision resin-printed bracket components
Flexible materials to represent roof curves
Metal powder composite materials to create copper decorations
III. Post-Processing Workflow
Surface Finishing:
Water-soluble removal of support structures
Isopropyl alcohol steam polishing
Progressive sanding with precision sandpaper
Nano-filler to fill layer patterns
Antique Coloring Process:
Acrylic primer base coat
Layered coating with mineral pigments
Dry brushing technique to enhance texture
Localised rust effect staining
Protective treatment:
Overall application of matte protective paint
Localised application of 24K gold leaf
UV-resistant transparent coating
4. Final assembly and display
Modular magnetic connection
Adjustable-angle base
Hidden LED lighting system
Customised acrylic dust cover


