Fighter jet model manufacturer
1. Main Body Formation
Combining ABS plastic sheets with 3D printing technology: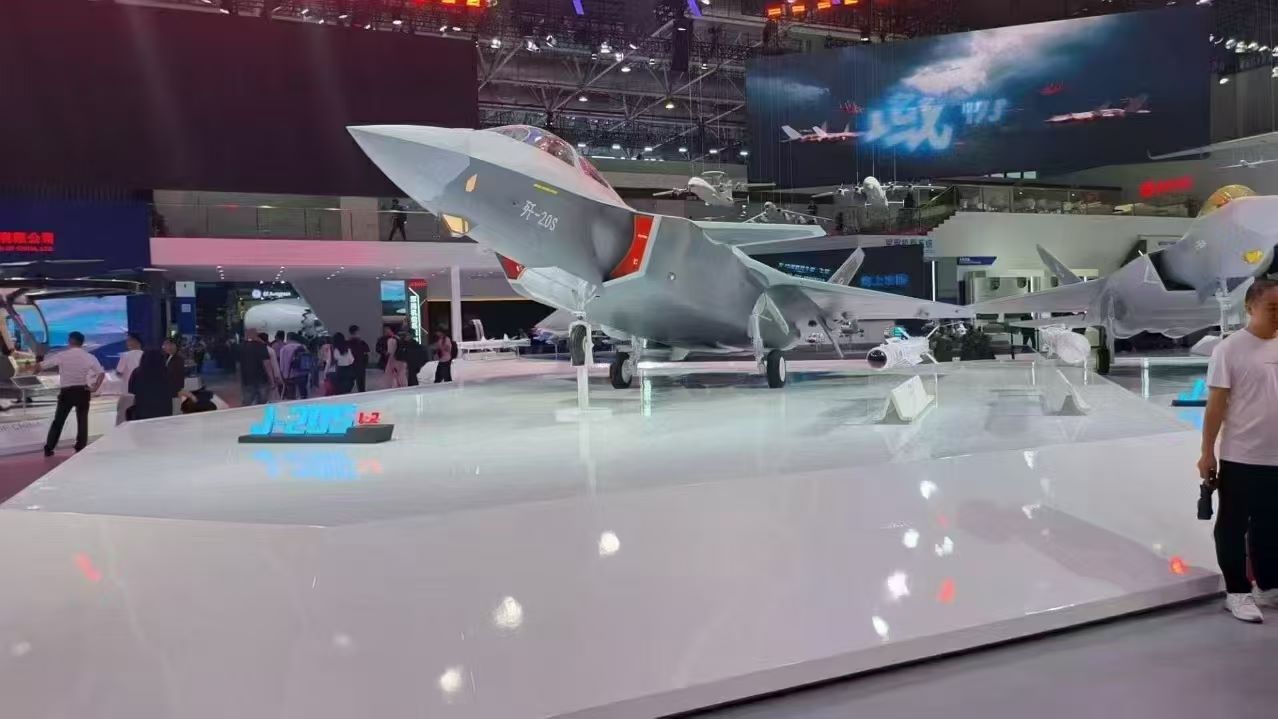
The main frame of the fuselage is formed using 1.5mm ABS sheets through thermal bending, with the skin seam lines processed by a CNC engraving machine.
Complex curved components such as the intake duct and cockpit canopy are manufactured using stereolithography 3D printing (precision of 0.05mm).
The vertical tail and canards use a copper core skeleton covered with 0.8mm adhesive panels to ensure the strength of moving parts.
2. Additional Details
Avionics compartment cover: 0.3mm etched sheets are used to simulate rivet arrays (spacing 1.2mm).
Landing gear: Metal rods are machined into hydraulic rods, with 3D-printed hubs paired with silicone tyres.
Weapons bay: Magnetic latch doors are designed, with internal mounting brackets made from laser-cut acrylic.
Painting and weathering
1. Base coat preparation
After spraying the entire aircraft with 1200-grit water-based putty, use grey primer to check for smoothness
Main colour uses matte grey (60% black + 30% white + 10% blue) applied in sections, with the upper fuselage darker than the lower fuselage
2. Special Effects
Panel Colour Variation: Lightly spray light grey along panel seams to create a worn appearance
Engine exhaust: First apply a chrome base coat, then layer on blue-burned effect paint (simulated colour at 800°C)
Seam treatment: Use dark brown stain wash to emphasise recessed lines, then use a cotton swab dipped in solvent to create fuel stains
3. Marking Restoration
Water decals: Custom digital camouflage decals (300 dpi resolution), edges softened with a softening agent
Aircraft emblem: Masking spray method, with three layers of masking film to ensure the clarity of the jagged edges
Final assembly and quality inspection
Full-body matte protective paint (semi-gloss) for a uniform texture


