Ship model production case: from drawings to 90% restored collectible level presentation
In the model making workshop, the birth of a collectible ship model is a collaborative symphony of craftsmanship, materials, and post-processing. From the blueprint to the finished product, every step embodies the ingenuity of "90% restoration".
1、 Preliminary preparation: drawing disassembly and material selection
After receiving the ship drawings, the technician first dismantled the structure: the main body is the hull, with details such as solar panels, cockpit, and red lifebuoys. In terms of material selection, the hull is made of polystyrene foam board (easy to cut and polish after printing to simulate the texture of the hull); Engineering plastic for solar panels (blue coating after printing, restoring equipment identification); Choose PVC board for the lifebuoy (low cost, easy to cut, colored to simulate industrial red paint).
2、 Production process: Step by step restoration of structural details
3D printing molding:
Complex structures such as solar panels and cockpit are printed using 3D printers. When printing, technicians closely monitor the layer height and accuracy to ensure the flatness of the solar panels and the restoration of details in the cockpit. After printing, clean the supporting structure with a small knife, and then use sandpaper (400 mesh → 600 mesh) to polish the surface, making the edges of the parts rounded and eliminating printing layer patterns.
Hand cutting and assembly:
The hull is cut from polystyrene foam board - first use a ruler to draw lines, then use a utility knife to cut accurately, and finally use hot-melt glue to glue the hull and the support. During assembly, the technician repeatedly adjusts the angle to ensure that the ship's support force is consistent with the original equipment, ensuring that the model "stands steadily and accurately".
3、 Post processing: coloring and detail polishing
Base color spraying:
Spray white primer on the hull with a spray gun (simulating the texture of the hull), blue primer on the solar panels (restoring the equipment identification color), and industrial red primer on the lifebuoy (simulating factory painting). When spraying, move the spray gun at a constant speed to ensure uniform color and no flow marks.
Detail coloring and aging:
Hull: Use a fine brush dipped in white paint to touch up the seams of the hull and enhance its texture;
Solar panel: After the blue primer dries, use black pigment to draw the equipment identification (such as the words "solar panel"), and then use transparent varnish for gloss treatment to restore the identification details of industrial equipment;
Lifeguard: After the red primer dries, lightly sand the edges with sandpaper to simulate the "wear and tear" after long-term use, making the model more "industrial".
Overall polishing and buffing: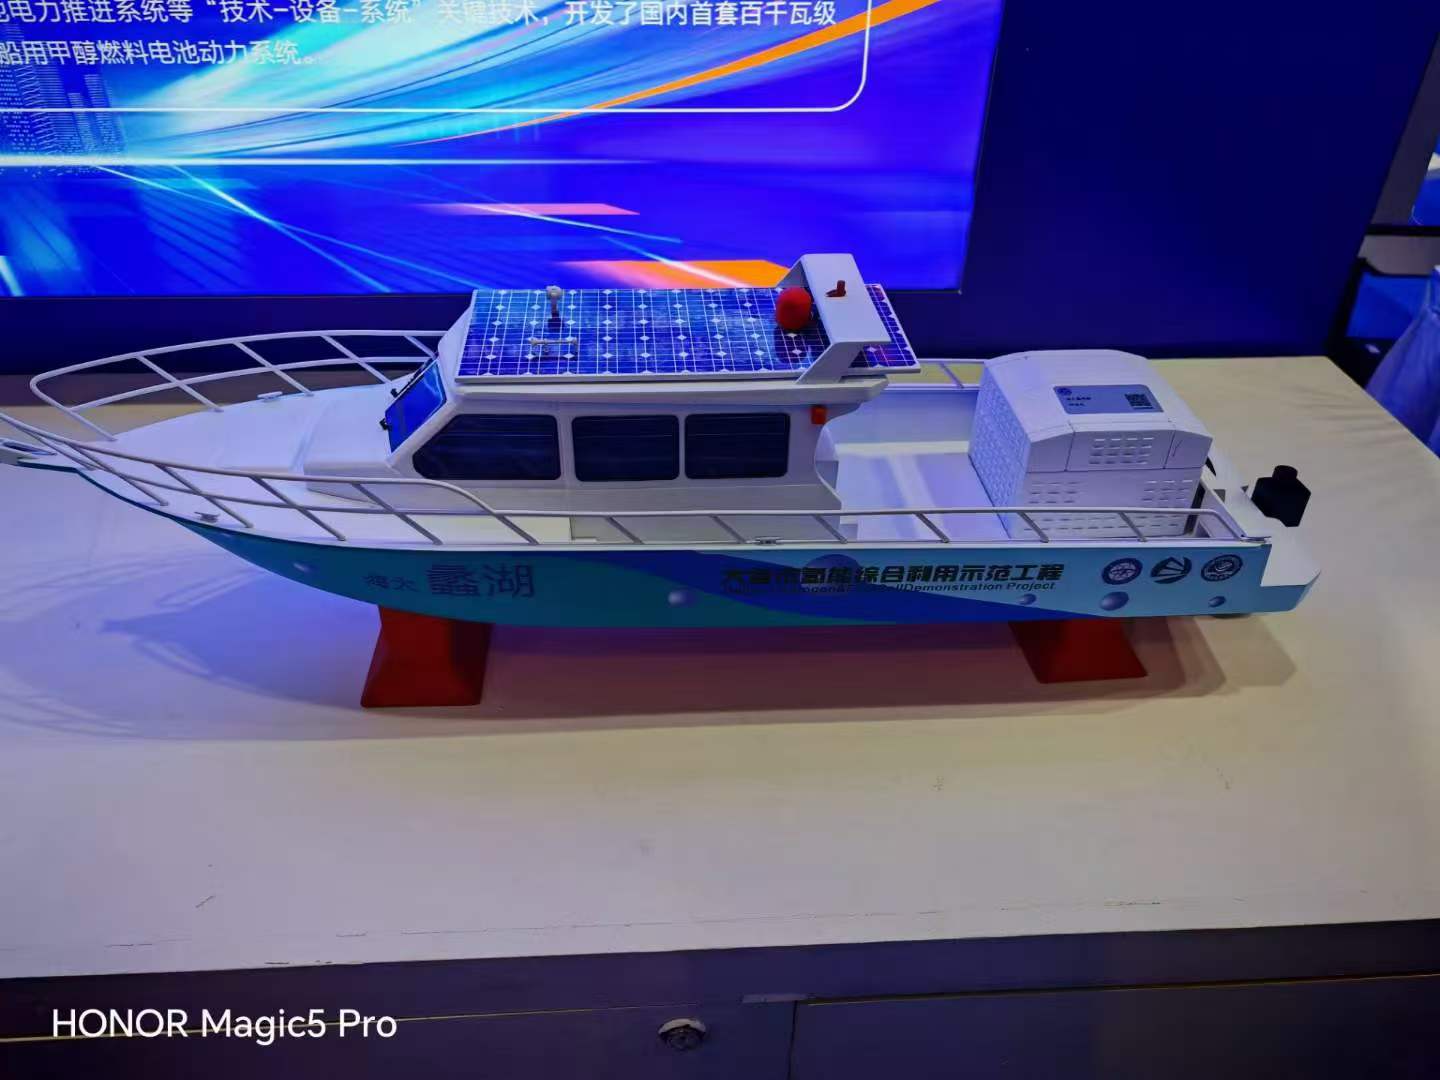
After coloring, lightly polish the entire model with 800 grit sandpaper to eliminate brush marks; Then use a polishing cloth dipped in polishing solution to wipe, making the surface as smooth as a mirror and restoring the industrial texture of the equipment.


