Helicopter Model Making Case Study: UH-60 ‘Black Hawk’ 1:35 Scale High-Fidelity Handcrafted Model
I. Material Selection and Pre-Production Preparation
ABS plastic sheets (0.5–3 mm thick) were selected as the primary material, balancing strength and ease of processing; carbon fibre rods (2 mm diameter) were used for the rotor blades to enhance bending resistance; Transparent canopy made from polycarbonate sheets thermoformed. Tools include a utility knife, file set, mini drill press, temperature-controlled soldering iron (for welding metal components), and a workbench with a magnifying glass and lighting.
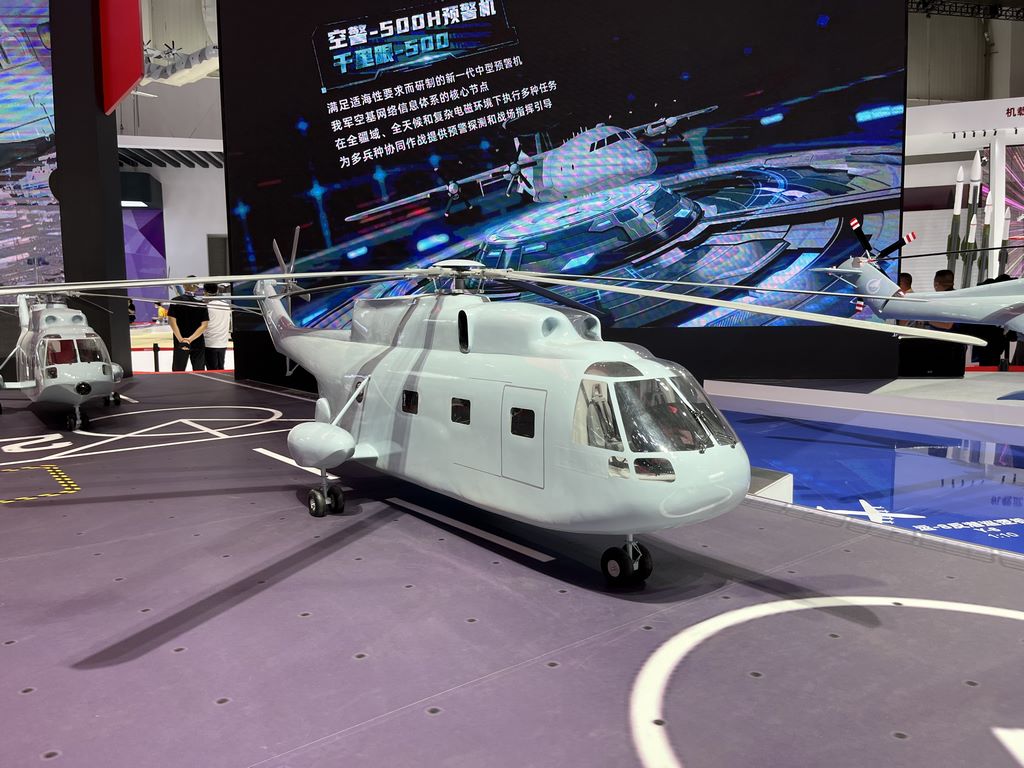
2. Main Structure Construction Process
Fuselage Frame Construction
Outline the three-view drawings on the ABS sheet, use a scriber to mark the reference lines, then layer and bond the sheets (using Tamiya seam glue), sanding the entire surface with 400-grit sandpaper every three layers to correct deformation.
Leave a 0.3mm clearance for the hatch, and manually fold brass sheets for the hinges.
Rotor System Assembly
The main rotor hub is machined from an ABS rod, and the blades are sanded to an aerodynamic shape based on the wing profile. The tips are slightly curved upward using a heat gun to simulate real-world stress conditions.
The tail rotor drive shaft is modified using an acupuncture needle to ensure precise meshing with the gear set.
Detail Enhancement Processing
Rivet effects are created by individually striking with a 0.3mm punch
The engine cooling grille is replaced with an etched plate instead of the original plastic part to enhance the perforated texture
3. Painting and weathering treatment
Base colour treatment
Sprayed with Gunze 1000 Grey Water Putty, inspected for defects, and localised gaps filled with toothpaste putty
Main colour applied with GAIA EX-07 Matte Olive Green in segmented spraying, with slight colour variation retained at the rotor root to simulate wear
Weathering Techniques
Use MIG Productions Dark Brown Wash to emphasise panel lines, control residue with a cotton swab dipped in Tamiya X-20 Thinner
Dry-brush with AV Model Paint Metallic Silver to highlight rivets and edge wear
Apply Bare-Metal foil strips to the rotor leading edge to simulate metal edging
Logo Restoration
Treat the team emblem with a water decal softener, puncture any bubbles with a needle tip, then apply Gunze Super Clear Coat to fix it in place
Hand-draw the warning text on the cabin door using a 0.1mm airbrush
4. Key points for restoration accuracy
Proportion verification: After completing each component, compare it with the blueprint using a digital caliper, allowing for a tolerance of ±0.5mm
Dynamic Testing: After installing the rotor, test rotational balance using a low-speed motor; counterweight lead blocks are hidden inside the nose
Environmental Matching: Referencing actual aircraft service photos, add oil stain streaks on the right door (mixed using oil paint and turpentine)


